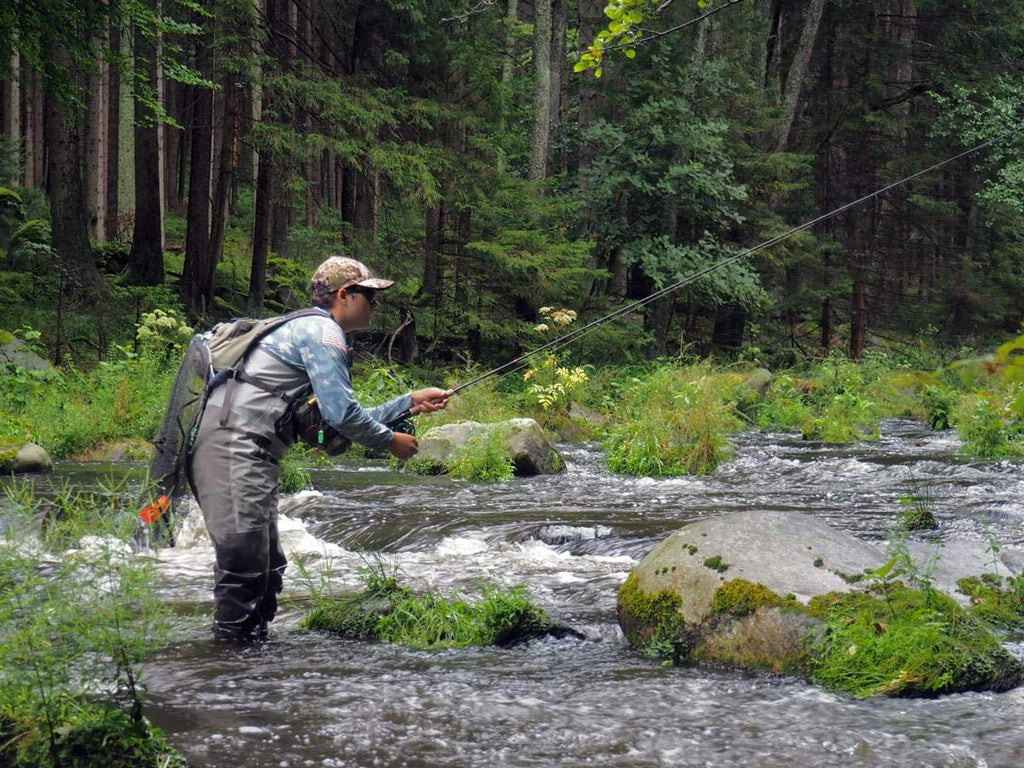
Light Euro-Nymphing - Part 5: Casting & Landing Angles
Euro-Nymphing: Fish lighter to improve your nymph game
Part 5: Casting & Landing Angles
This is a series of articles to help you fish lighter for improved euro-nymphing success.
To preface this segment of the series, this casting & landing article is about tight-line nymphing, and it does not cover the successful method of "floating your sighter" - although I plan to write about this at a later date.
As I've mentioned earlier with leader construction, your cast is crucial to how your flies enter the water, and how your line enters the water, which contributes to a successful drift.
Your drift starts as soon as your flies enter the water, not when they sink.
An accurate tuck cast - mostly a wrist cast, while keeping your rod tip high will propel your flies straight down like throwing stones into a bucket. The tuck will break the surface tension of the water a little more effectively than flies just "slapping" the water. Devin Olsen has spoken in-depth about drawing an oval while you cast your nymph rig. The oval is crucial, while keeping a high rod tip (again, i'll just keep mentioning this) and a hard stop at about the 10 or 11 o'clock point. This will begin your tuck cast and keep your line off the water while starting your drift.

The figure above shows desired casting stroke angles, for most situations. Obviously if you're in tight cover or performing a different drift, this could not be followed.
- A: The desired start and stop point for a powerful rod load, a full turn-over, and great tuck.
- B: Still great, just not as desirable as A
- C: You're going to lose a lot of your rod power, not have a successful turn-over, and it's very difficult to get a tuck from this angle.
With this in mind, the tuck cast creates a path for your flies to enter the water at a desired angle for maximum sink rate.

In the figure above, I highlight the desired landing angles for your flies. The higher the flies enter, the better chance they have of sinking faster.
- A: Desired in most situations, will get your flies drifting without as much tension as a lower-angled landing. This is highly recommended in deeper water, or swifter runs.
- B: Still really great, and probably preferred in mid-depth riffles. Can just be relatively effective as A.
- C: When you're fishing pretty far away from you, this is probably going to be what happens, and thats great because you'll have more energy stored in the cast rather than being close to you. However, fishing closer to you, this is teetering on the edge of not good, but can be super effective in skinny water or when fish are feeding in upper columns.
- D: This angle will most likely mean your sighter or line is entering/touching the water before your flies are, which is not good. It will certainly take more time to sink. However, I know that some expert anglers can achieve this low-angle entry with great success, so if you can get this to work for you without your line effecting entry, do it!
Line entry is just as important. If your sighter or top of your tippet section is entering the water before your flies, you're creating micro-drag and increased surface tension, thus hindering your flies from sinking.
After your flies and line enters, the next step is equally as important. If you've stopped your rod tip high, that should mean there is no sighter on the water. One of the most important lessons I've learned is to "be ready to drift, and do not suddenly adjust your rod tip height as you begin your drift" - this can be thought of as the golfer's term "play it as it lies" - back cast, forward cast, stop, follow drift. If you have excess line, use your line hand to slowly figure-8 or continuously strip line back to you, following the speed of the drift. The important point here is to not drastically use your rod tip to adjust your drift. An easy "drill" to try while fishing:
- Fish a little closer to you than normal, just to not have any sighter touch the water. While practicing your oval and tuck cast, use your rod as a pendulum, and don't correct your drifts. As you see no sighter touching the water and your mid-drift corrections are minimal, start working further away from you.
Another popular method for sinking your flies, if you're fishing a little farther away from you, and directly upstream from you (can be a small angle buffer, just wanted to point out to not do this directly across from you) is laying your sighter down after your flies enter (This is super important) and letting the sighter float while you pick up your slack, keeping your high rod angle. This is not the same as the actual method "floating your sighter" - but a great way to allow flies less tension to drop faster.
There are 100s of other ways and facets of casting that can be successful, but I'm just covering the technique I employ, which is pretty simple to pick up for any angler. Please feel free to share your casting tips, other ideas, or general cast chatter below in the comments. This one was fun!
Next, we'll talk FLIES!
- Nick Meloy


